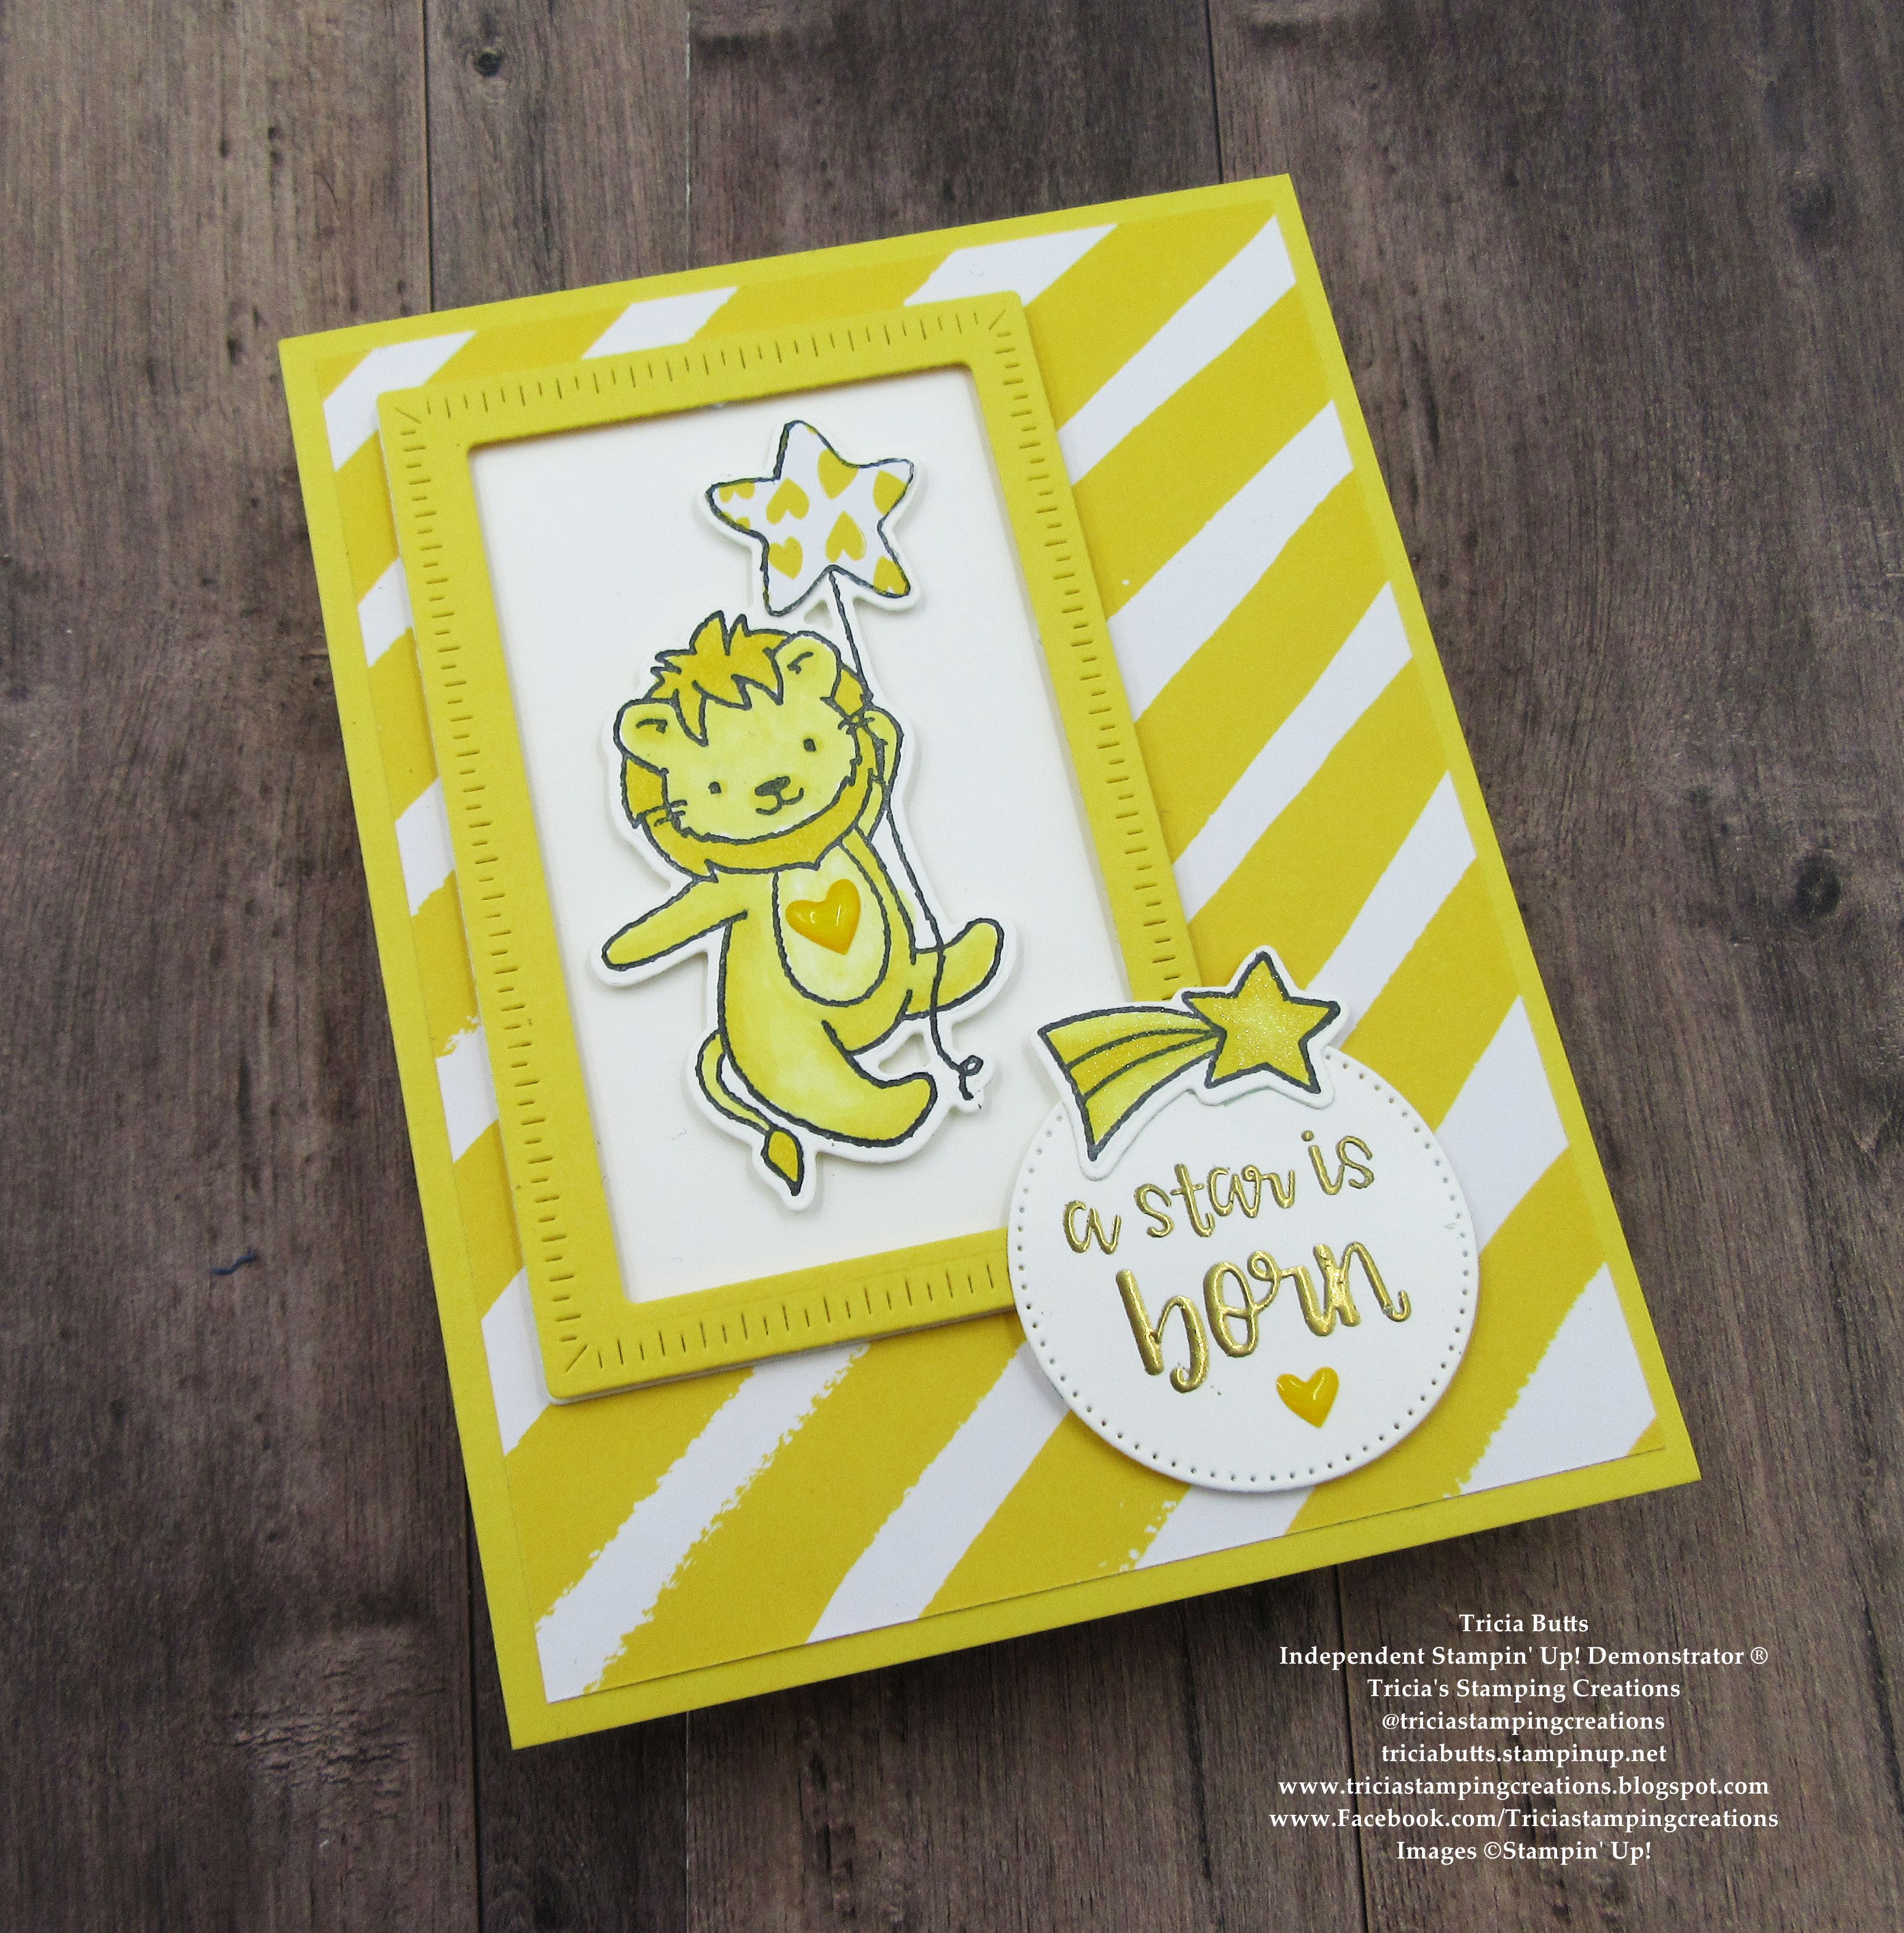
Are you ready for this week's Crafty Collaborations Monochromatic Color Challenge? It's Week 16 and we are showcasing Daffodil Delight from the Brights Collection. This pretty yellow reminds me of sunshine and happy days so I wanted to create a fun, happy card design for this week's challenge. When I saw this bright, cheery color I immediately thought baby card. It may not be what everyone thinks of when they see this color but when you pair it with the Little Dreamers Bundle, it just seems like the perfect match. I chose to use the adorable lion image paired with cute stars to help celebrate a very special occasion. A little coloring with Stampin' Blends Markers, some paper piecing for the star and a designer series paper background help bring this sweet baby card to life. What's not to love?
Products Used:
Little Dreamers Bundle (item #161579) - Retiring
Radiating Stitches Dies (item #161595)
Stylish Shapes Dies (item #159183)
Brights 6"x6" Designer Series Paper (item #161643) - Retiring
Daffodil Delight Cardstock (item #119683)
Basic White Cardstock (item #159276)
Daffodil Delight Stampin' Blends Combo Pack (item #154883)
Memento Tuxedo Black Pad (item #132708)
Versamark Pad (item #102283)
Metallics Embossing Powders (item #155555) - Retiring
Clear Wink of Stella Glitter Brush (item #141897)
Adhesive Backed Hearts & Flowers (item #162557) - Retiring
Stampin' Dimensionals (item #104430)
Measurements:
Daffodil Delight Cardstock
Card Base - 5 1/2" x 8 1/2" (Scored at 4 1/4")
Rectangle Frame die cut with the Radiating Stitches Dies
Daffodil Delight Designer Series Paper
Card Front - 5 1/4" x 4"
Fussy cut Star image stamped with the Little Dreamers stamp set
Basic White Cardstock
Lion image stamped and die cut with the Little Dreamers Bundle
Shooting Star image stamped and die cut with the Little Dreamers Bundle
Rectangle die cut with the Radiating Stitches Die
Sentiment Circle die cut with the Stylish Shapes Dies
For this card design, I wanted to find a balance between Basic White and Daffodil Delight to create this pretty card design. I love the striped designer series paper background that I added to the Daffodil Delight card base and I chose to create a Daffodil Delight rectangle frame using the Radiating Stitches Dies as well as the Basic White background. For the cute lion image, I stamped it with Memento Tuxedo Black ink and colored it in using both Dark and Light Daffodil Delight Stampin' Blends Markers to achieve the different shades of color. I repeated the process for the shooting star image and then die cut both the lion and shooting star images out with the coordinating Little Dreamers Dies. For the star balloon, I stamped the image onto a piece of the designer series paper with Memento Black ink and fussy cut the star out with Paper Snips and attached it on top of the star on the lion image. For the sentiment, I heat embossed the image with Gold embossing powder onto a Basic White Circle I die cut with the Stylish Shapes Dies. I attached the framed rectangle to the top left side of the card front and then added the lion image using Stampin' Dimensionals. I attached the circle sentiment label to the bottom right corner, slightly overlapping the frame, also using Stampin' Dimensionals. To decorate the sentiment, I added the shooting star across the top and added a small Daffodil heart below the sentiment and also a larger heart on the belly of the lion. To complete the design, I colored the shooting star image with Clear Wink of Stella to give it a pretty shimmer. I just love how cute this card design turned out, Doesn't it showcase Daffodil Delight perfectly? Let me know what you think in the comments.
Thank you for taking the time to visit my blog. I hope that my sweet baby card design will help inspire you to give Daffodil Delight a try when creating your next project. It's a perfect color for Spring and Summer projects and there are so many wonderful possibilities to explore.
Don't forget to check out all the wonderful projects showcasing Daffodil Delight in this week's Monochromatic Insta Hop. Just click here to get started. We would appreciate it if you would leave us a comment and let us know what you liked about our projects. I hope to see you next week for Week 17's Monochromatic Color Challenge. If you live in
the U.S. and do not have a Stampin' Up! Demonstrator, please contact me and I
would be happy to help you with your creative projects. You may also visit my
Online Store to place your order and have it shipped to you.
Until Next
Time
Happy
Stamping,
Tricia Butts
Independent Stampin' Up!
Demonstrator
Like What You
See? Visit My Online Store Here
Visit My Facebook Business Page for Updates & Ideas
Click here to Contact Me
Save Up To 60% Off Select Retiring Products
During The Last Chance Product Sale
Click Below To Shop Now
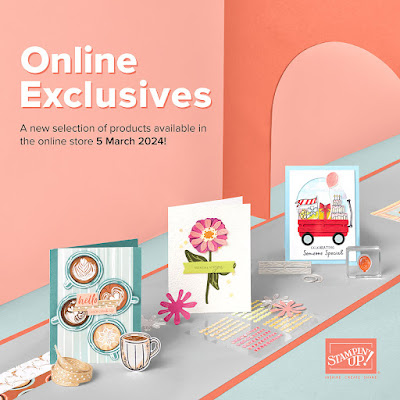
Explore Your Creativity
With The Online Exclusives Products
Click Below To Visit My Online Store